Garlic Scape Hummus and the Best Ever Pita Chips

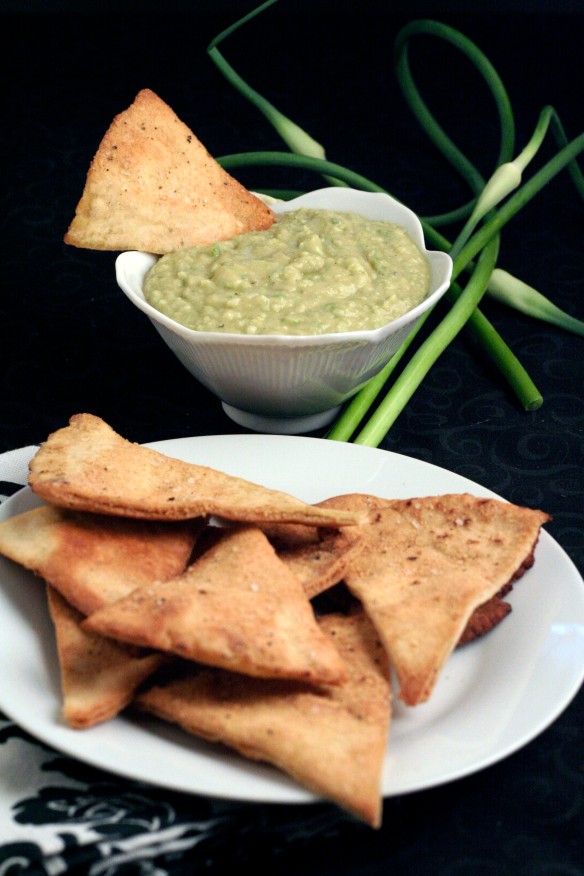
Garlic Scape Hummus

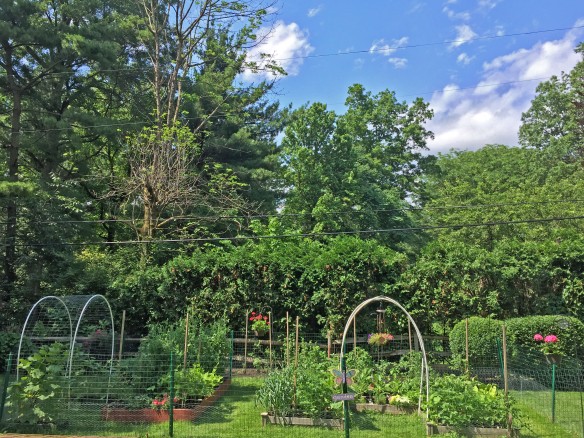
What is growing in your garden this year?  One of the things I am picking is garlic scape (those cool green spiral thingies that grow out of your garlic plant pictured above).  I am also picking sugar and snap peas and radishes.

Grow garden …grow

Cher's Garden

If you are growing garlic don’t miss out on picking these garlic scapes.  Garlic scape are milder in taste than garlic and are awesome stir fried in a pan with other vegetables, made into garlic scape pesto, or as I just discovered, made into Garlic Scape Hummus.

Garlic Scape Humus

INGREDIENTS:

1/2 cup chopped garlic scapes
1 tablespoon lemon juice
½ teaspoon sea salt
Ground black pepper (to taste)
1 can (15-ounces) chickpeas, rinsed and drained
¼ cup olive oil

DIRECTIONS:

1. In the bowl of a food processor, process the garlic scapes, lemon juice, sea salt and black pepper until finely chopped, scraping the sides as needed.

2. Add the chickpeas and process to a rough puree (the chickpeas will be just about completely mashed).

3. With the machine running, slowly pour in the olive oil and process until smooth. Check the consistency; if it is still thick and paste-like, you can add 2 or 3 tablespoons of water to thin it out a bit. Taste, and add more salt and pepper, if desired. Serve with your favorite vegetables, pita chips, etc.

Now don’t say I didn’t warn you … if you make these home-made pita chips you will never ever buy them in the store again.  You will tell yourself  “I’m only going to have one more” … after having had about 10… they are that good and super easy.

Homemade Pita Chips
Ingredients
3 pitas, cut into 8 wedges
4 tablespoons olive oil
1 clove garlic, smashed
Salt and freshly ground black pepper
Directions
Preheat heat oven to 375 degrees F.

Cut pitas into 8 wedges. Pour olive oil into a bowl and add garlic, salt and pepper. Brush pita chips olive oil and garlic mixture. Arrange pita chips on baking sheet and bake for 12 to 15 minutes.

Recipe courtesy of The Neelys – FoodNetwork

Fun Appetizer – Asian Chicken Cups

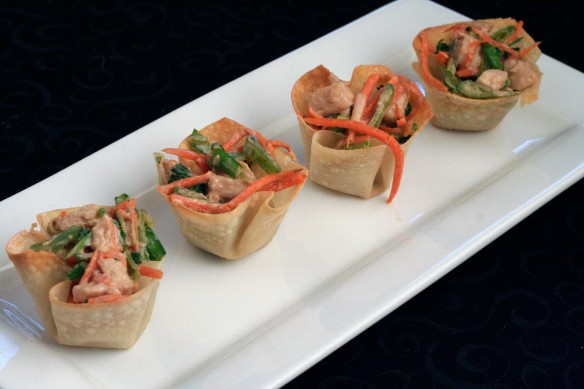
Asian Chicken Salad in Won ton Cups

If you’re looking for an easy appetizer that looks elegant and tastes delicious … these Asian Chicken Cups are all that!  An added bonus is that they are fairly healthy.  You can sub out the mayo for light mayo and you have a low fat, healthy appetizer.  ENJOY!

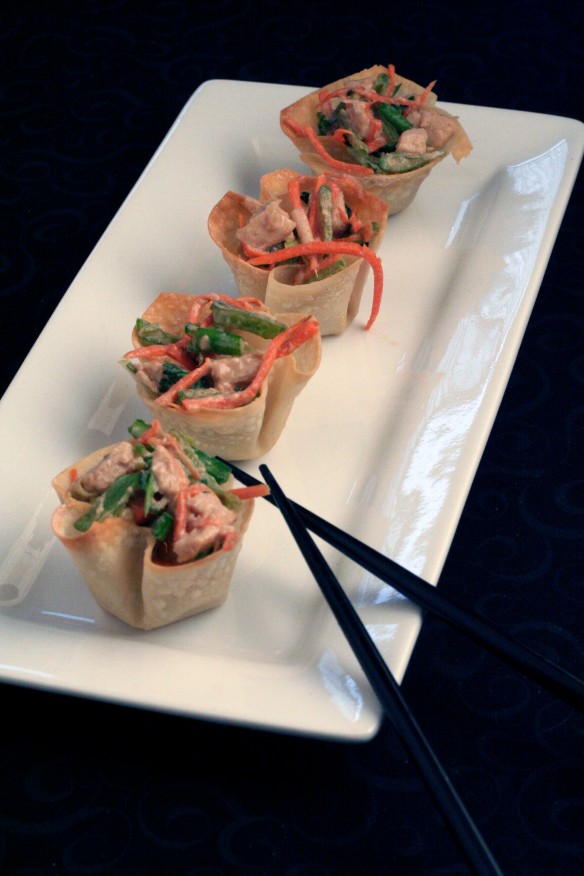
Sesame chicken wonton cups

To make ahead: Can be prepared through step 3 up to 6 hours in advance.

Ingredients

  • 8 ounces boneless, skinless chicken breast
  • cooking spray
  • 24 wonton wrappers, about 6 oz.
  • 2 tablespoons tahini
  • 2 tablespoons soy sauce or tamari sauce
  • 2 tablespoons maple syrup
  • 2 tablespoons mayonnaise
  • ½ cup thinly sliced snow peas
  • ½ cup shredded carrot
  • ½ cup thinly sliced scallions
  • 2 tablespoons chopped basil and/or cilantro
  • black sesame seeds for garnish, optional


Instructions

  1. Place chicken breast in a medium skillet and cover with cold tap water. Place over high heat and bring to a simmer. Reduce heat to maintain a gentle simmer and cook until the chicken is no longer pink in the center and cooked through, 8 to 12 minutes, depending on thickness of the meat. Remove the chicken and let cool. Cut chicken into small cubes.
  2. Meanwhile, Preheat oven to 350°F. Coat two 12 ­cup mini­ muffin tins with cooking spray. Cut corners off wonton wrappers to make an octagonal shape. Gently press wrapper down into each cup. Lightly spritz wrappers with cooking spray. Transfer the pans to the oven and bake until the wrappers are starting to turn golden brown and are crispy and bubbling, 10 to 14 minutes. Let cool completely.
  3. Whisk tahini, soy or tamari, maple syrup and mayonnaise in a medium bowl until smooth. Stir in the chicken and refrigerate until cold, 40 minutes to 1 hour.
  4. Stir snow peas, carrot, scallions and herbs into chicken mixture. Divide chicken salad among wonton cups, about 2 scant tablespoons each. Garnish with sesame seeds, if using. Serve immediately.


www.healthyseasonalrecipes.com

Asian Chicken Salad in Won Ton Cups

Shrimp Ceviche

Shrimp Ceviche


I found this to be a deliciously different way to serve shrimp.  Do you find that you are always making the same recipes and eating food the served the same way?  When you go out to eat do you always order the same dish or change it up a bit and try something new?  I’m all about trying new recipes – it’s always good to change things up instead of remaining status quo.  And what could be the worst thing to happen?  You don’t like it …oh well at least you tried!  ENJOY!

Cranberry Shrimp Ceviche Cups

Ingredients:

1 ½ teaspoons salt, divided

16 ounces  Medium Raw Shrimp, thawed

1 cup  Dried Cranberries

½ red onion, roughly chopped

½ cup fresh parsley

½ jalapeño, roughly chopped

¼ cup fresh lemon juice

¼ cup fresh lime juice

¼ teaspoon  Crushed Red Pepper or Ground Black Pepper

1 teaspoon  Oregano
Garnish:

13 ounces  Restaurant Style Tortilla Chips

2 limes, cut into wedges

Fresh cranberries (optional)

Directions:

  1. Bring a medium pot of water to a boil. Season with 1 teaspoon salt. Add shrimp and cook for 3 minutes. Immediately plunge cooked shrimp into an ice water bath. Peel shrimp and place in a flat dish.
  2. In a food processor, combine cranberries, red onion, parsley and jalapeño. Pulse until finely chopped. Add cranberry mixture to shrimp.
  3. Add lemon juice, lime juice, remaining ½ teaspoon salt, crushed red pepper and oregano. Stir to combine ingredients thoroughly. Refrigerate for 1 hour.
  4. To assemble: Spoon ceviche (about 4-5 shrimp each) into small clear cups or glasses. Garnish with tortilla chips, lime wedges and fresh cranberries.


Shrimp Ceviche

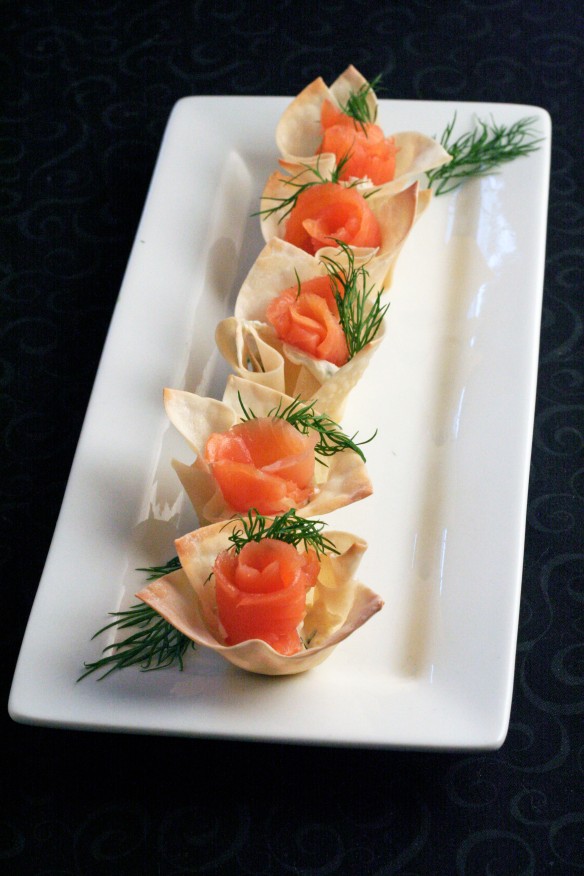
Easy and Elegant Appetizer – Smoked Salmon and Horseradish Mascarpone in Wonton Cups

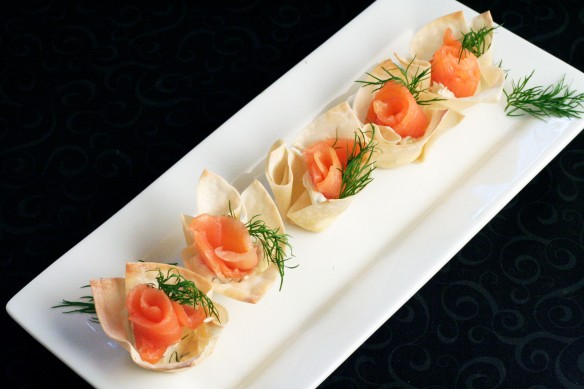
Smoked Salmon in Wonton Cups

Are you looking for an elegant appetizer recipe?  This appetizer makes a fantastic presentation, tastes wonderful and best of all you won’t spend hours making it!

This is the first time I had purchased wonton cups and found them very easy to work with!  I’m already thinking of what I may fill them with next!  If you like smoked salmon I’m sure you’ll enjoy this!

Smoked Salmon & Horseradish Mascarpone in Wonton Cups

  • 24 square wonton skins
  • 1/2 cup mascarpone cheese, room temperature
  • 1 tbsp plus 1 tsp horseradish
  • 2 tsp finely chopped fresh dill
  • 1/8 tsp kosher salt
  • 1/8 tsp freshly ground black pepper
  • 6 oz. smoked salmon, cut into 24 equal pieces
  • Fresh dill springs

Smoked salmon in wonton cupsPreheat oven to 350 degrees F.

Cut about 1/2-inch off of two adjacent sides of each wonton wrapper to make a slightly smaller square. To make this process quicker, stack several wonton skins together at a time.

Spray a mini muffin tin lightly with cooking spray. Press one wonton skin in each muffin tin opening, slightly folding the skins in a couple of places to make them fit properly. Bake until crisp and golden brown, 5 to 7 minutes. Remove the wonton cups from the tin (remember, they will be hot) and cool on a wire rack.

In a medium bowl, stir together mascarpone cheese, horseradish, fresh chopped dill, salt, and pepper.

Fill each cup with 1 teaspoon of the mascarpone mixture. Top with a piece of smoked salmon folded into a loose rose. Garnish with sprig of dill. Repeat with smoked salmon and dill.

Makes 24 hors d’oeuvres.

Recipe Source: www.cookincanuck.com

smoked salmon in wonton cups

California Cheese Torte

Yummy!  I love this cheese Torte!  I’ve been making this for years over the holidays.  It’s pretty, it’s festive, and mostly importantly it’s incredibly good – what more could you want?

Ingredients

    • 2 (8 ounce) packages cream cheese ( can use reduced fat)
    • 2 cloves garlic, minced
    • 8 ounces goat cheese
    • 2 teaspoons thyme
    • 2 tablespoons olive oil
    • ½ – 1 Cup pesto sauce to cover
    • 1/2 cup roasted red peppers, drained and chopped
    • additional red peppers, strips ( garnish)

 Directions

  1. Line a one-quart dish with plastic wrap.
  2. Place the garlic and cheeses in a food processor, and process.
  3. Add oil and thyme, and process again until well combined.
  4. Spread 1/3 of the cheese mixture in the dish.
  5. Then spread the pesto over the cheese.
  6. Spread another 1/3 of the cheese mixture over the pesto.
  7. Next, layer with the chopped red peppers.
  8. Finish with the final layer of cheese.
  9. Cover and chill at least 2 hrs.
  10. When ready to serve, unmold onto serving plate and garnish with additional red pepper strips, and fresh herbs (thyme or basil) if desired.
  11. Serve with crackers or raw veggies.